Orthodontics can do far more than straighten teeth. Many patients turn to experienced orthodontists like Dr. Brown and Dr. Borth to treat conditions caused by their jaw or tooth alignment.
A proper bite can help eliminate many of the difficulties patients experience from a misaligned jaw, like obstructive sleep apnea (OSA) and speech impairments. Orthodontics can help you find relief from a variety of symptoms with customized treatments from our compassionate team.
Two-Phase Treatment
What is the advantage of two-phase orthodontic treatment?
Two-phase orthodontic treatment is a specialized process that combines tooth straightening and physical, facial changes. The purpose of two-phase treatment is to maximize the opportunity to accomplish the ideal healthy, functional, and aesthetic result that will remain stable throughout your child’s life.
What if treatment is put off?
Putting off treatment can result in a need for more invasive treatment later in life that may not completely fix your child’s smile. Early treatment is most effective for achieving lasting results.
Phase One
A Foundation for a Lifetime of Beautiful Smiles
The goal of Phase One treatment is to help the jaw develop in a way that will accommodate all of the permanent teeth and improve the way the upper and lower jaws fit together. Children often exhibit early signs of jaw problems as they grow and develop. An upper jaw that is growing too much or too narrow can be recognized at an early age. If children over the age of six are found to have this jaw discrepancy, they are candidates for early orthodontic treatment. Also, if children around the age of eight have crowded front teeth, early treatment can prevent the need to extract permanent teeth later.
- Planning Now Can Save Your Child’s Smile Later — Children benefit tremendously from early-phase treatment. Receiving early treatment may prevent the removal of permanent teeth later in life, or the need for surgical procedures to realign the jaws.
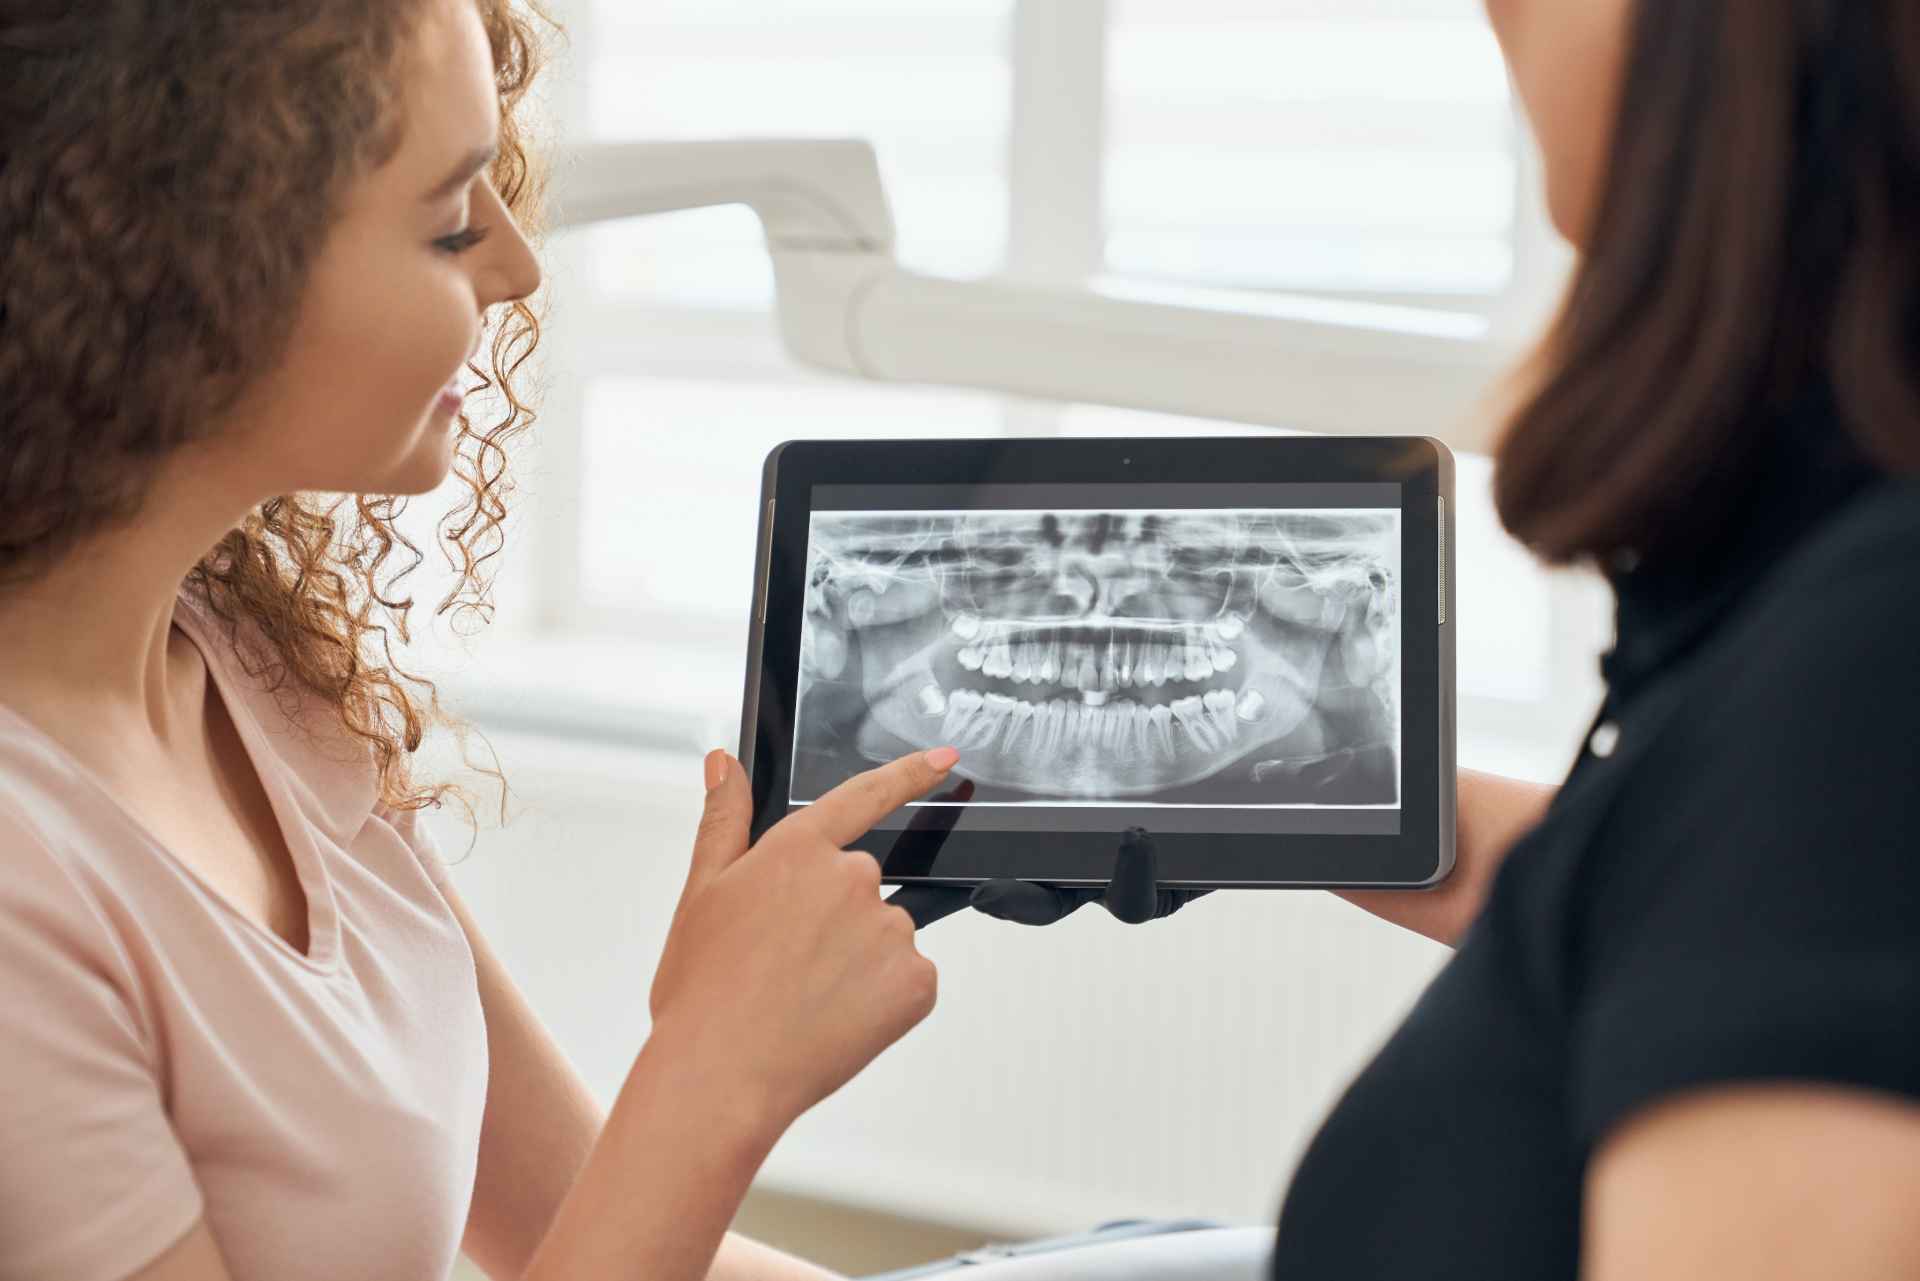
- Making Records To Determine Your Child’s Unique Treatment — Orthodontic records will be necessary to determine the type of appliances to be used, the duration of treatment time, and the frequency of visits. Records consist of models of the teeth, X-rays, and photographs. During your child’s initial consultation, the doctor will take records to determine if early treatment is necessary.
Resting Period
In this phase, the remaining permanent teeth are left alone as they erupt. Retaining devices may not be recommended if they would interfere with eruption. It is best to allow the existing permanent teeth some freedom of movement. A successful first phase will have created room for permanent teeth to find an eruption path. Otherwise, they may become impacted or severely displaced.
Monitoring the teeth’s progress
At the end of the first phase of treatment, teeth are not in their final positions. This will be determined and accomplished in the second phase of treatment. Selective removal of certain primary (baby) teeth may be in the best interest of enhancing eruption during this resting phase. Therefore, periodic recall appointments for observation are necessary, usually on a six-month basis.
Phase Two
Stay healthy & look attractive
The goal of the second phase is to make sure each tooth has an exact location in the mouth where it is in harmony with the lips, cheeks, tongue, and other teeth. When this equilibrium is established, the teeth will function together properly. Phase Two usually involves full upper and lower braces.
At the beginning of the first phase, orthodontic records were made and a diagnosis and treatment plan was established. Certain types of appliances were used in the first phase to correct and realign the teeth and jaw. The second phase begins when all permanent teeth have erupted, and usually requires braces on all the teeth for an average of 24 months. Retainers are worn after this phase to ensure your child retains his or her beautiful smile.

TMJ/TMD Treatment
Temporomandibular joint disorder (TMD) is a common problem that affects patients whose jaws are not properly aligned. A good bite should see the backs of your upper teeth rest just before the front of your lower ones. Teeth that are touching, directly on top of each other, or set too far forward or back in the mouth can lead to jaw pain.
In the case of TMJ, misalignment can cause the temporomandibular joint not to function properly. This joint plays a crucial role in the function of your jaw, so any dysfunction can impact your ability to speak or chew properly. Many patients with TMJ also experience tenderness, sensitivity, and pain that can make everyday activities feel difficult.
Symptoms of TMJ
Consider reaching out to the team at East Texas Orthodontics if you notice any of the following symptoms:
-
- Popping or clicking sounds when opening or closing your jaw
- Pain around your jaw, neck, ears, and face
- Difficulty fully opening or closing your mouth all the way
- Dizziness or ringing in your ears (tinnitus)
You may experience some of these symptoms together or by themselves. TMD can also cause your facial muscles to feel sore and sensitive to the touch.
Many patients who have a TMJ disorder also find themselves grinding their teeth, which can wear them down and alter their shape. Teeth grinding can also lead to more jaw tension and headaches, so getting the right treatment ASAP is key to long-lasting relief.

Airway Orthodontics
Your facial structure is designed to enhance breathing, but sometimes, patients have misalignments that impact their ability to sleep or breathe properly. Many patients with orthodontic issues report trouble with snoring, mouth-breathing, and struggling with OSA.
OSA causes the airway to collapse while someone is asleep. They may not realize this, so they often wake up feeling exhausted no matter how many hours they spend in bed.
Chronic fatigue, snoring, and gasping during sleep are the most common signs of obstructive sleep apnea. If you or your child exhibit any of these symptoms, it’s a good idea to reach out to a professional.
What Does Airway Orthodontics Treat?
Airway Orthodontics helps patients who have breathing difficulties due to their jaw alignment. Orthodontists prescribe custom mouthguards, night guards, and other oral appliances to shift the jaw into the proper position during sleep or other activities.
By keeping the upper airway open during sleep, airway orthodontics can prevent the discomfort and side effects of disrupted sleep.
Braces may also be recommended as an airway orthodontic treatment for some patients. Because jaw misalignment can cause such serious impairment, braces may be the best long-term solution for some patients.
When to See an Airway Orthodontist
You might consider seeking out a specialist if you or your child have any of the following symptoms:
-
- Day or nighttime mouth breathing
- Persistent jaw pain or sensitivity
- Repeated upper respiratory infections
- Difficulty sleeping due to snoring, breathing difficulties, dry mouth, or facial discomfort
- Excessive breathlessness when performing physical activities

Common Appliances
Elastics (Rubber Bands)
Wearing elastics (or rubber bands) improves the fit of your upper and lower teeth. Wear rubber bands as instructed, and remember that the rubber bands work far more efficiently if they’re worn as prescribed.
Forsus™
The Forsus Fatigue Resistant Device is an alternative to headgear that promotes growth in adolescents, helping to eliminate excessive overbites, improve the fit of teeth, and possibly prevent the need for jaw surgery.
Headgear
Headgear is used to treat patients whose teeth are in an overbite, with the upper jaw forward of the lower jaw, or an underbite with the lower jaw forward of the upper jaw. Headgear gently “pulls” on your teeth to restrict further forward growth of your upper teeth and jaw.
Herbst® Appliance
The Herbst appliance reduces overbite by encouraging the lower jaw forward and the upper molars backward. This fixed appliance is used mostly for younger, growing children and is worn for about 12-15 months.
Palatal Expander
The palatal expander “expands” (or widens) your upper jaw by putting gentle pressure on your upper molars each time an adjustment is made. Your orthodontist will instruct you about when and how to adjust your expander. When you achieve the desired expansion, you will wear the appliance for several months to solidify the expansion and prevent regression.
Adjusting Your Expander
- Adjusting the palatal expander
- In a well-lit area, tip the patient’s head back.
- Place the key in the hole until it is firmly in place.
- Push the key toward the back of the mouth. You will notice the fender will rotate and a new hole will appear. The rotation stops when the key meets the back of the expander.
- Press back and down toward the tongue to remove the key. The next hole for the insertion of the key should now be visible.
Positioners
Positioners complete the final tooth movements in your orthodontic treatment. With your full cooperation, you should only need to wear the positioner appliance for four to eight weeks.
Retainers
Retainers may be removable or fixed. They hold your teeth in their new, correct positions after your teeth have been straightened. Your orthodontist will instruct you on how to care for your retainer and about the duration of the wear. Wearing your retainer as directed is crucial to prevent regression of your treatment.
Separators or Spacers
Separators are little rubber doughnuts that may be placed between your teeth to push them apart so that orthodontic bands may be placed during your next appointment. The separators will be removed before we place the bands. Separators do not mix well with sticky foods, toothpicks, or floss.

Orthodontic Retention
You’ve worked hard for your beautiful smile; keep it that way!
Finally, your braces have been removed and your smile is beautiful, straight, and best of all, metal-free! However, your orthodontic journey isn’t quite completed. To keep your smile looking its best, you’ll have to wear a retainer to preserve and stabilize your results. Retainers are needed to control or limit potential changes in tooth position. They are used after braces treatment to hold teeth in their correct alignment while the surrounding gums, bones, and muscles adjust to the new positioning of your teeth.
Types of Retainers
Retainers are custom-made and can be removable or fixed.
Traditional removable retainers typically include a metal wire that surrounds the front teeth and is attached to an acrylic arch that sits on the roof of the mouth. The metal wires can be adjusted to finish treatment and continue minor movement of the front teeth as needed.
Aligner-style retainers, or Essix retainers, look similar to clear aligners and offer a more aesthetic alternative to wire retainers. This clear retainer may fit over the entire arch of your teeth, or only from canine to canine (clip-on retainer). It is produced from a mold of your newly aligned teeth.
Fixed retainers consist of wires bonded behind the bottom and/or top teeth. While the device is usually required no more than a year after wisdom teeth have been extracted, it is often kept in place for life.
Pros & Cons
- Removable retainers can be taken out for eating and hygiene routines.
- Removable retainers can get lost easily, so remember to keep yours in the case whenever you remove it to eat or brush.
- A fixed retainer is great if you don’t want to keep track of it, or if you don’t want to worry about how many hours per day it must be worn.
- Teeth with fixed retainers require a little extra attention to remove tartar while flossing. Patients with fixed retainers often must use floss threaders to pass dental floss through the small spaces between the retainer and the teeth.
Retainer Instructions
- Wear your retainer at all times, until your orthodontist instructs otherwise.
- Take your retainer out when eating, and always put it back in its case! (Most appliances are lost in school lunchrooms or restaurants.)
- Clean the retainer thoroughly once a day with a toothbrush and toothpaste. Use warm but not hot water. Brushing retainers removes the plaque, and eliminates odors. Efferdent® or other orthodontic appliance cleaners can be used but do not take the place of brushing.
- When your retainer is not in your mouth, it should ALWAYS be in its case. Pets love to chew on them!
- Initially, you may find it difficult to speak. Practice speaking, reading, or singing out loud to get used to it faster.
- Retainers are breakable, so treat yours with care. If your retainer gets lost or broken, call us immediately.
- If you have any questions or concerns about your retainer, or you believe it needs adjusting, call us. Do not try to adjust it yourself.
- Always bring your retainer to your appointments.
- Retainer replacements are expensive, but with proper care, they will last for years!
- Remove your retainer when you go swimming.
- Keep retainers away from hot water, hot car dashboards, pockets, washing machine, and napkins.

Emergency Care
True orthodontic emergencies are rare, but when they occur we are available to you. As a general rule, you should call our office when you experience severe pain or have a painful appliance problem you can’t take care of yourself. We’ll be able to schedule an appointment to resolve the problem. If you’re experiencing an orthodontic emergency or appliance issue, please call our team at (903) 282-3014.
You might be surprised to learn that you may be able to solve many problems yourself temporarily until you can get to our office. If there is a loose piece that you can remove, put it in a plastic bag or envelope and bring it with you to your next appointment. If your braces are poking you, put soft wax on the piece that’s sticking out. If the wire has slid to one side, you can pull it back to the other side with needle-nosed pliers, replacing it in the tube on the back tooth.
After alleviating your discomfort, it is very important that you still call our office as soon as possible to schedule a time to repair the problem. Allowing your appliance to remain damaged for an extended period of time may result in disruptions to your treatment plan.
General Soreness
When you get your braces on, you may feel general soreness in your mouth, and teeth may be tender to biting pressures for three to five days. Stick to a soft diet until your teeth do not hurt to chew. Irritated gums and other sore spots can be relieved by rinsing your mouth with a warm salt-water mouthwash. Dissolve one teaspoonful of salt in eight ounces of warm water, and rinse your mouth vigorously. If the tenderness is severe, take Acetaminophen (Tylenol) or whatever you normally take for headache or similar pain. Aspirin, Ibuprofen (Motrin, Advil), and Naproxen Sodium (Naprosyn, Anaprox) actually slow tooth movement, so it is not advisable to use them frequently while wearing braces.
The lips, cheeks, and tongue may become irritated for one to two weeks as they learn a new posture and become accustomed to the surface of the braces. You can put wax on the braces to lessen this. We’ll show you how!
Headgear
Sometimes discomfort is caused by not wearing the headgear as instructed by your orthodontist. Please refer to the instructions provided by your orthodontist. If the facebow (metal piece) is bent, please call our office for assistance. The headgear should hurt less the more it’s worn, so be sure you get in the prescribed number of hours.
Loose Appliance
If your appliance is poking you, place wax on the offending part.
Loose Bracket
If your bracket or band is still attached to the wire, you should leave it in place and put wax on it if needed for comfort. If the bracket or band can be removed easily, place it in an envelope and save it to bring to your next appointment.
Loose Wire
Using a pair of tweezers or needle-nosed pliers, try to put your wire back into place. It is okay to use a piece of floss to tie the wire into place: tie the floss around the bracket in place of the missing colored o-ring. If you cannot put the wire into a comfortable position, and covering the end with wax doesn’t help, as a last resort use a small fingernail clipper to clip the wire behind the last tooth to which it is securely fastened. If the end of the wire is still sharp place wax on it.
Poking Wire
Using a pencil eraser, push the poking wire down or place wax on it so that it is no longer poking.